Mount Baldy Hiking Guide - How to Hike Mount San Antonio

Mount Baldy, also known as Mount San Antonio, is one of the most popular and iconic peaks in Southern California. It's located within the Angeles National Forest. The mountain is famous for its challenging hikes, stunning views, and diverse ecosystems. Here's some information about hiking Mount Baldy:
Trail Options: There are several routes to hike up Mount Baldy, varying in difficulty and length. The most popular routes include the Ski Hut Trail, the Baldy Bowl Trail, the Devil's Backbone Trail, and the Bear Canyon Trail (or Old Mount Baldy Trail). Each trail offers a unique experience, ranging from moderate to strenuous. But we would say mostly strenuous.
Trailhead: The most common trailhead is the Manker Flats Trailhead, which is accessible via Mount Baldy Road. This is where you'll find the trailheads for the Ski Hut Trail and the Baldy Bowl Trail. The trailhead for the Devil's Backbone Trail starts a bit higher up the mountain, and Bear Canyon Trail has a separate trailhead.
Distance and Difficulty: The length and difficulty of the hike will depend on which trail you choose. The Ski Hut Trail is about 6.4 miles roundtrip and is considered strenuous due to its elevation gain. The Devil's Backbone Trail is around 7.5 miles roundtrip and involves some exposed sections along a narrow ridge. The Bear Canyon Trail is longer, approximately 14 miles roundtrip, and is also challenging. We ended up going up Devil’s Backbone Trail, and then down Bear Canyon Trail.
Elevation Gain: Mount Baldy's summit sits at an elevation of around 10,064 feet (3,068 meters). The elevation gain for each trail can range from around 3,800 to 4,000 feet, so be prepared for a steep and strenuous ascent.
Permits and Parking: A National Forest Adventure Pass is usually required for parking at the trailheads. Make sure to check the latest information on permit requirements and parking regulations before your hike.
Weather: The weather on Mount Baldy can change rapidly, so it's important to be prepared for all conditions. Even in the summer, temperatures at the summit can be quite cool, and snow can persist in shaded areas. We went in the middle of July, and didn’t see any snow, although it is still possible in the summer.
Preparation: Hiking Mount Baldy requires a good level of fitness and proper hiking gear. Wear sturdy hiking shoes, carry enough water, snacks, and clothing layers, and consider bringing trekking poles for the steep sections.
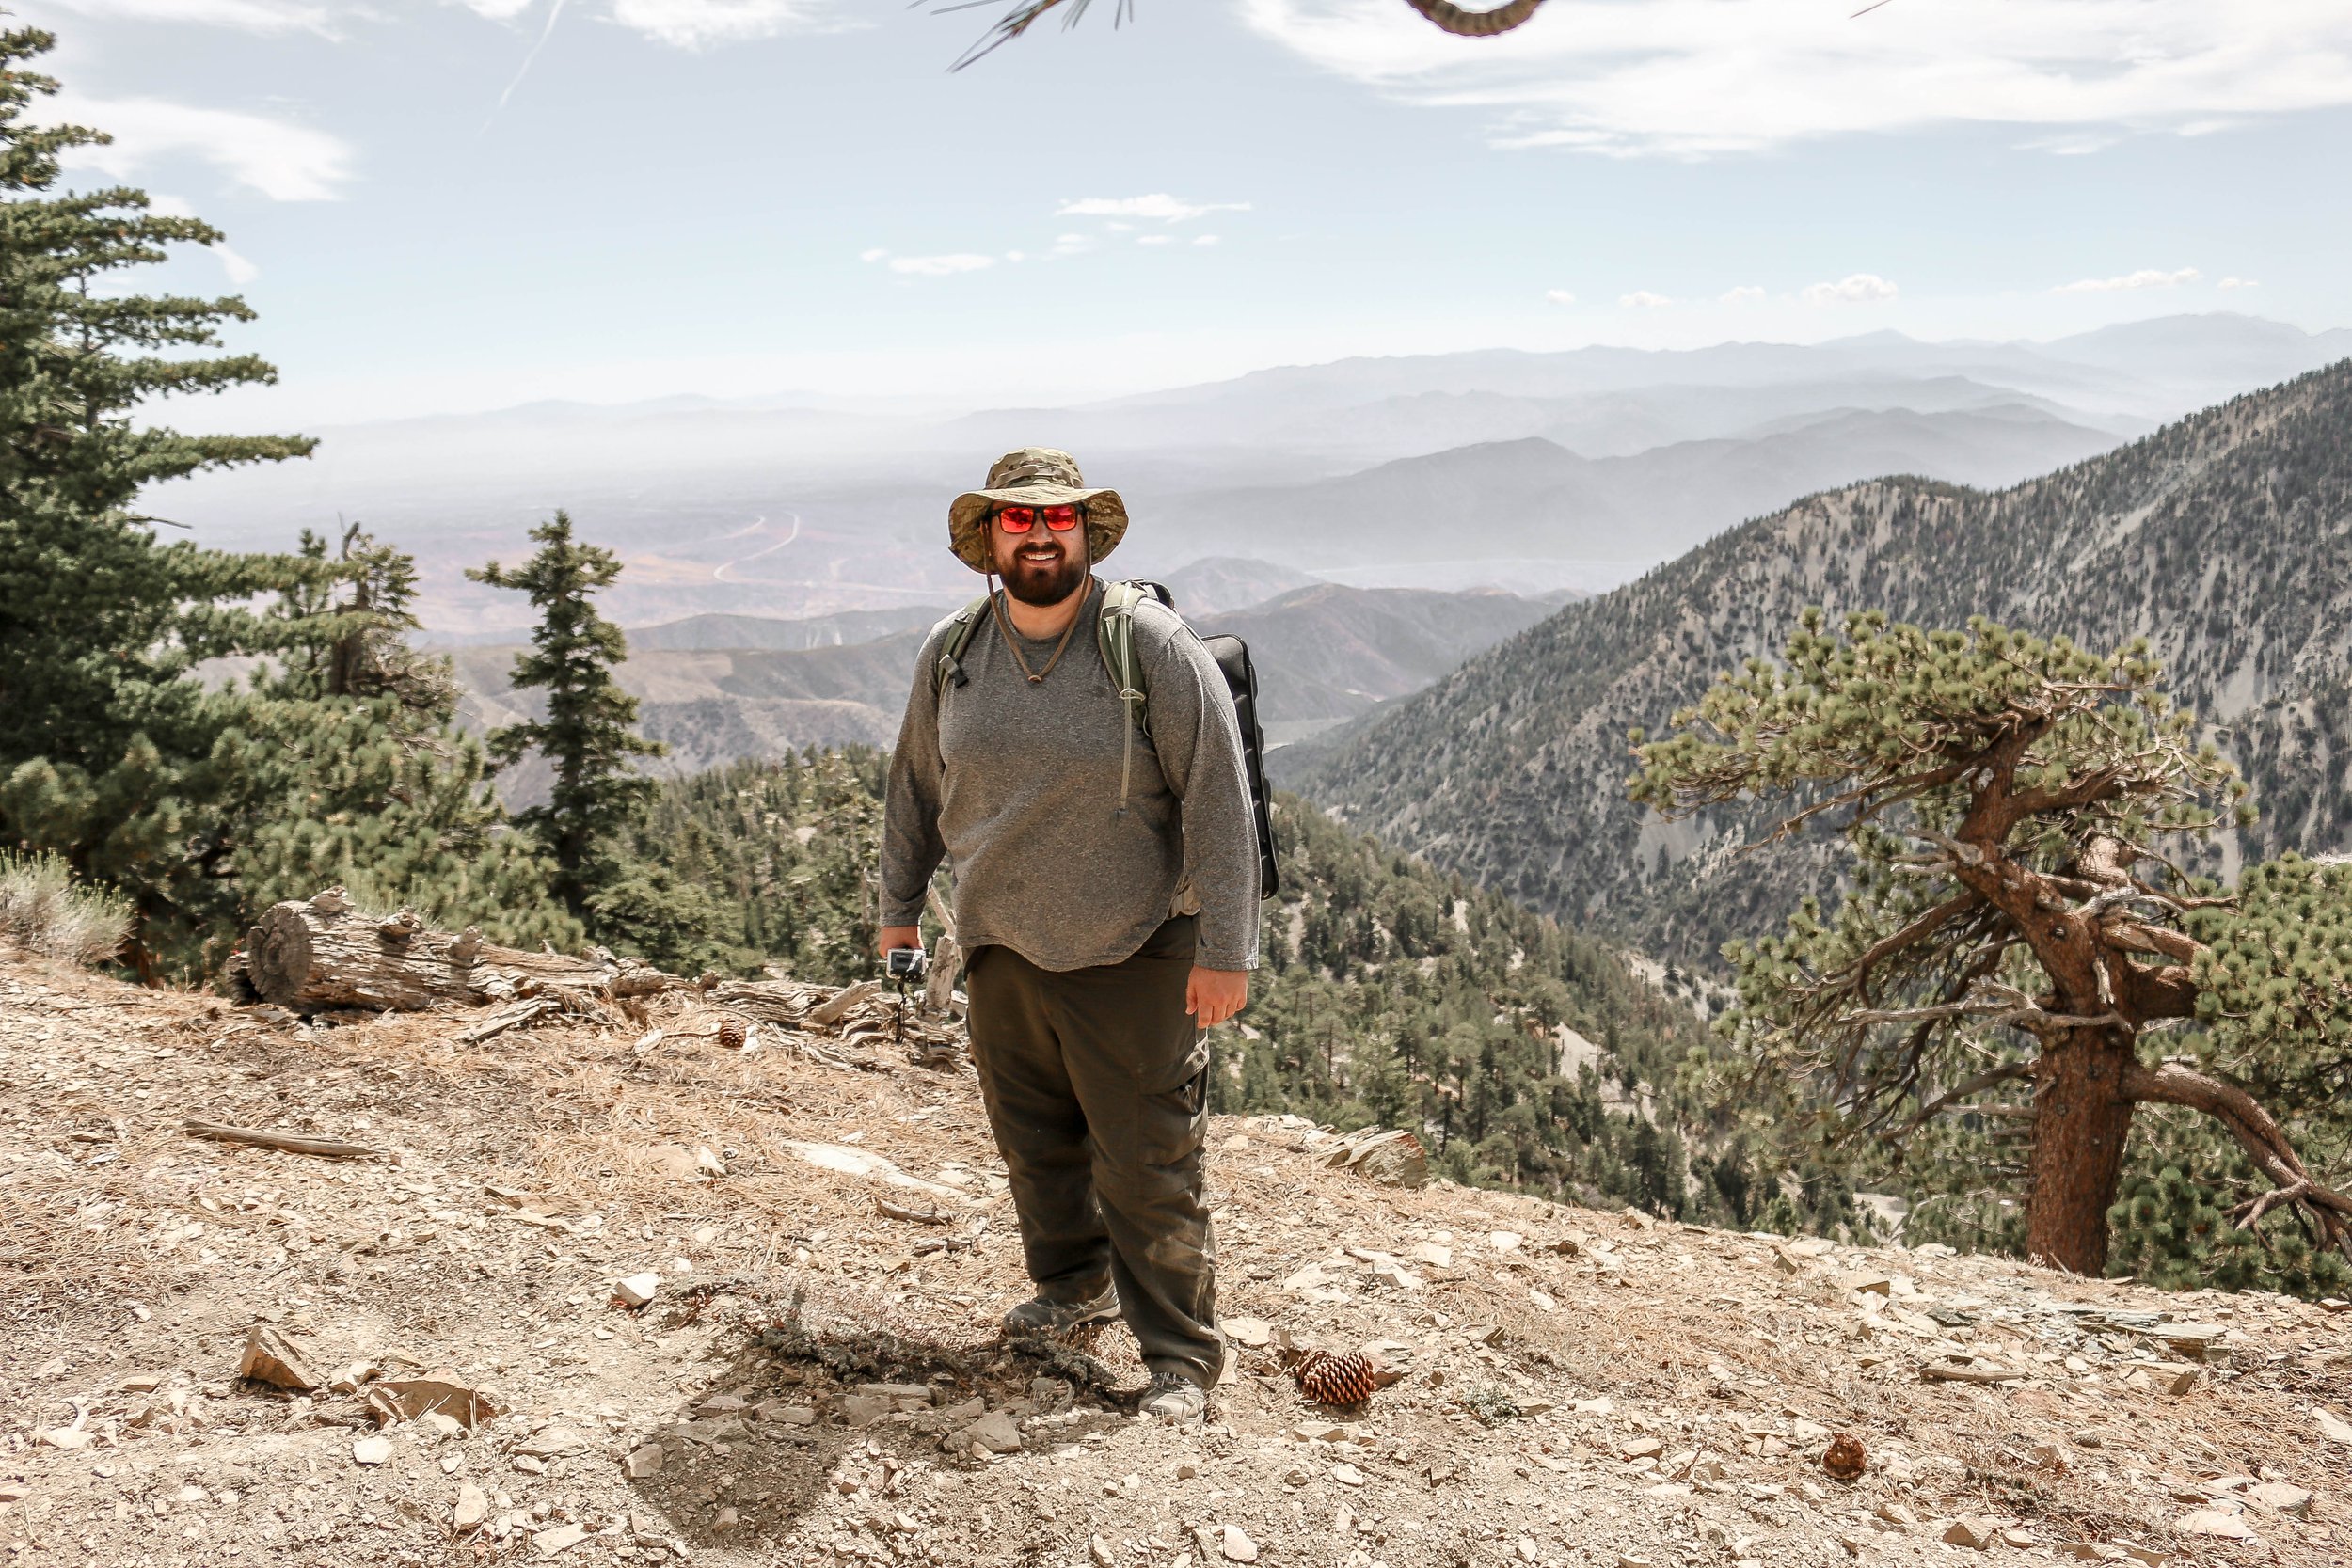
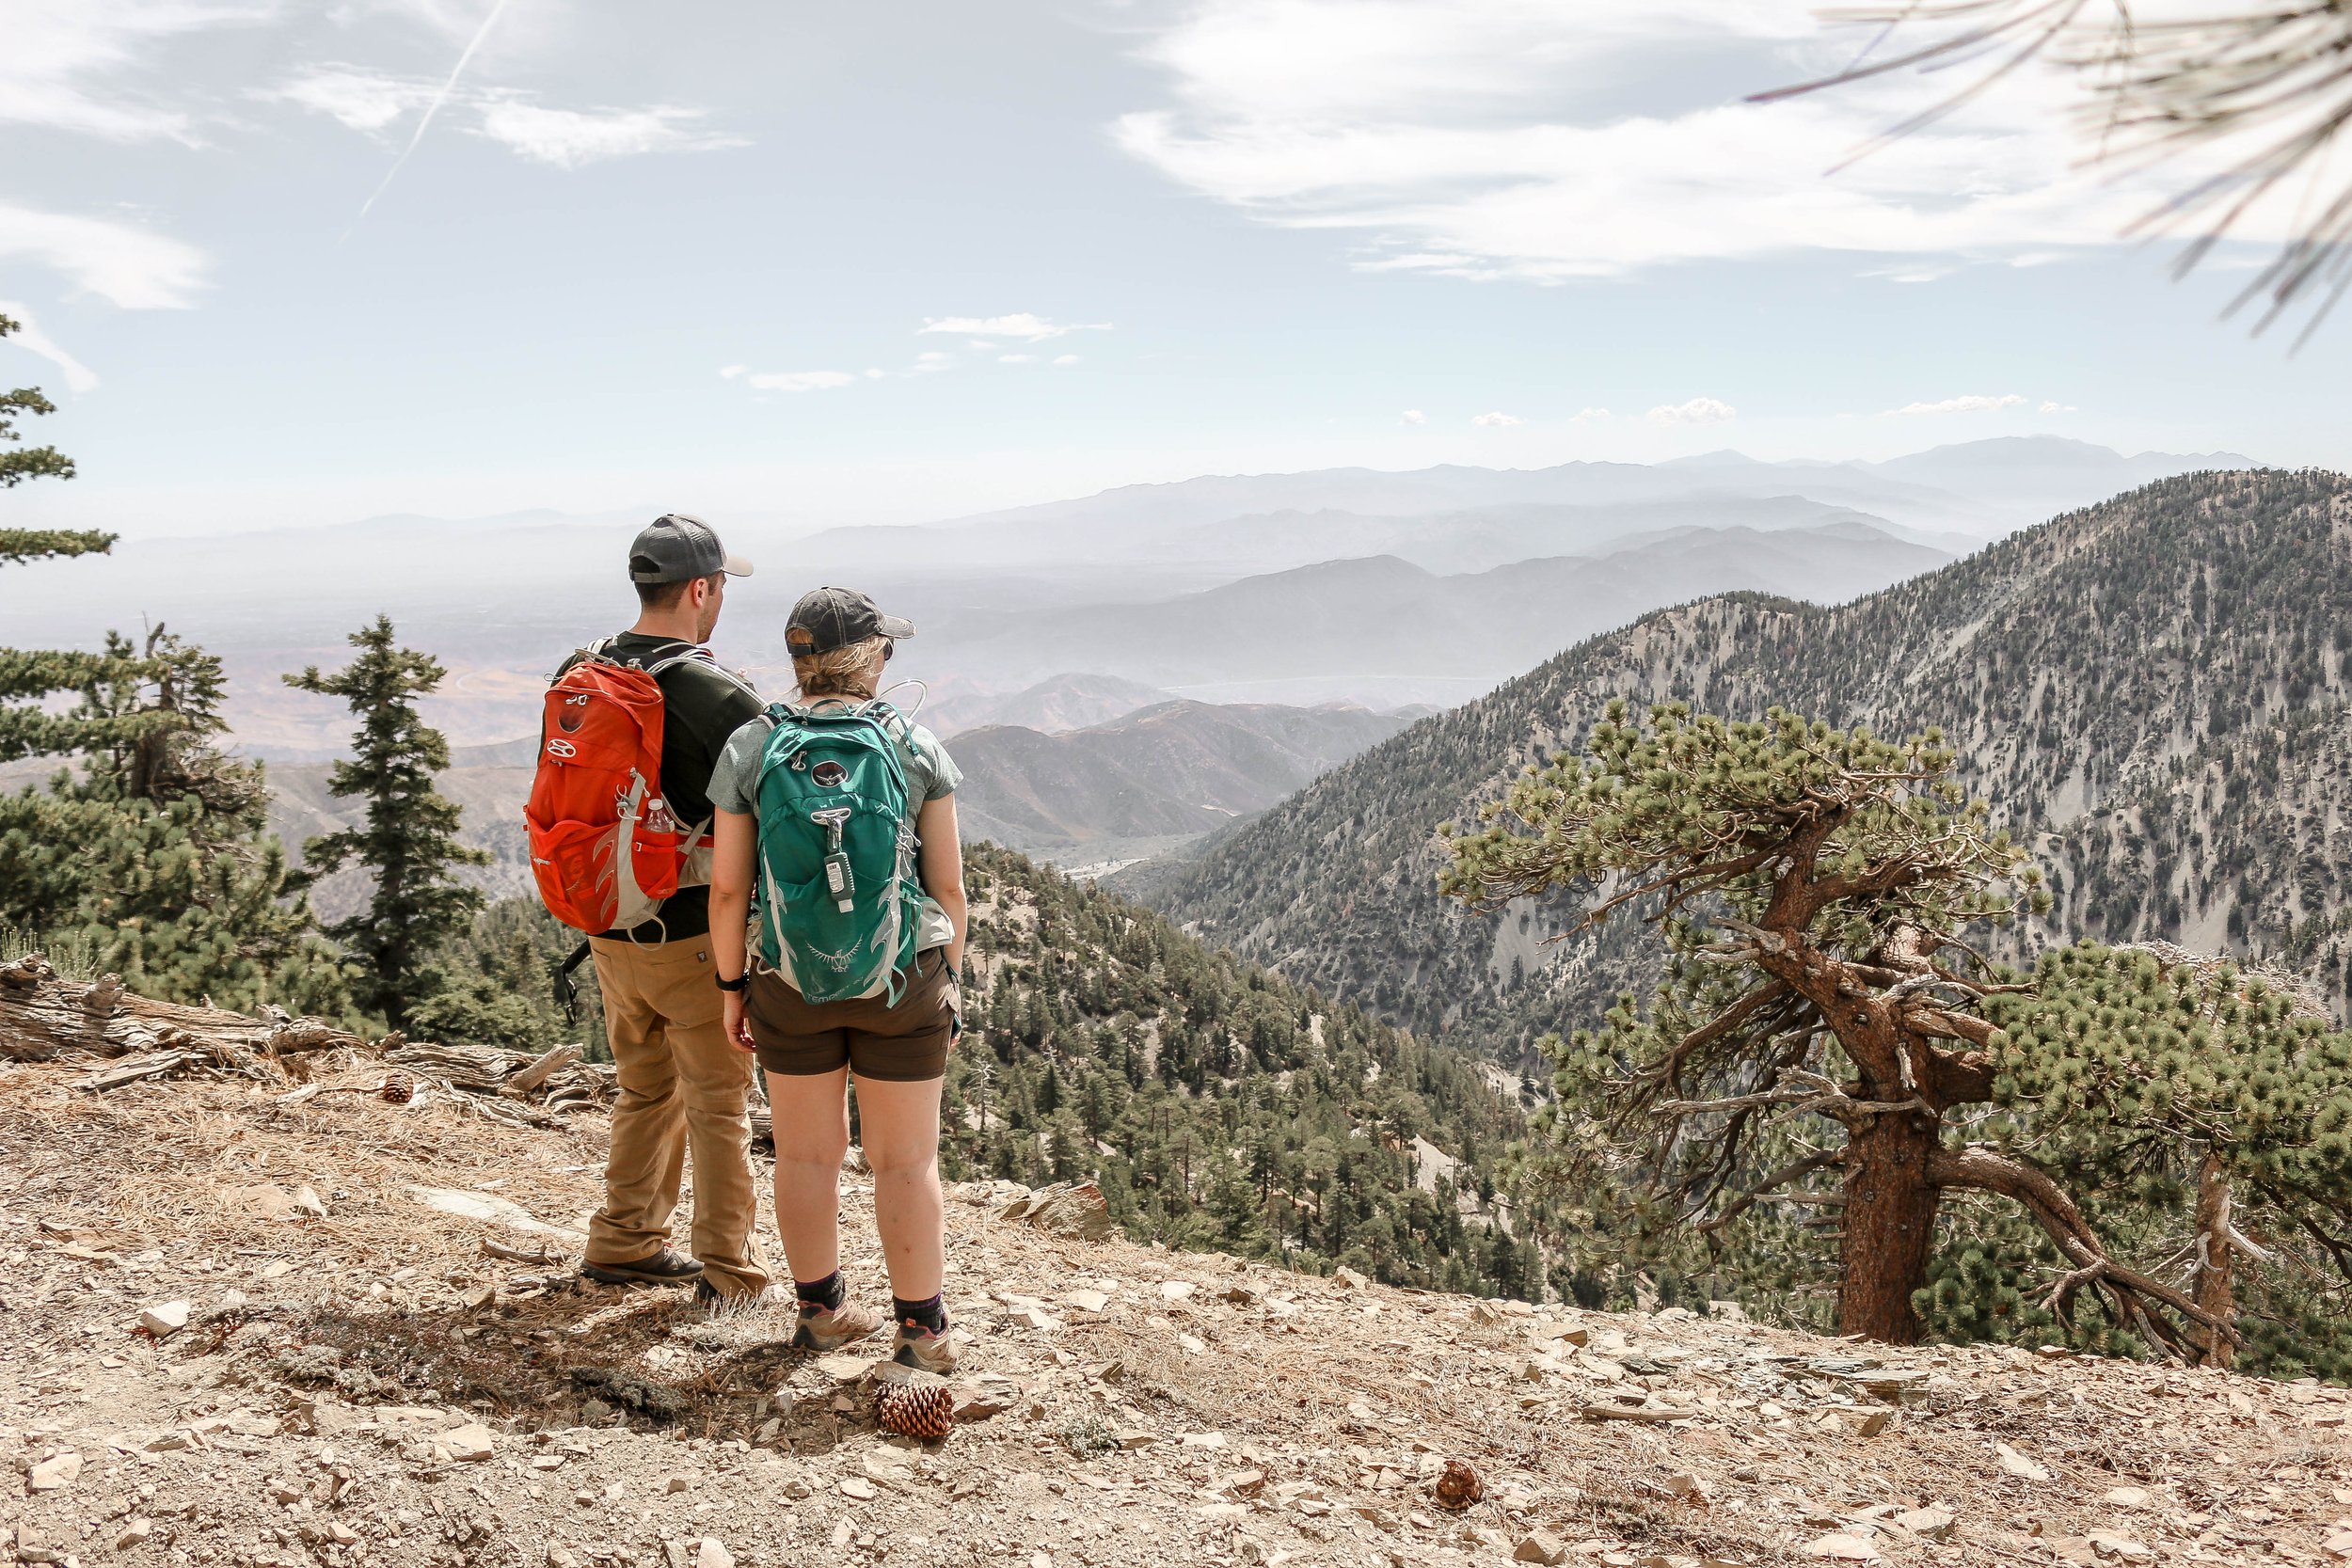
Views: One of the highlights of hiking Mount Baldy is the breathtaking panoramic view from the summit. On clear days, you can see the surrounding mountain ranges, the Los Angeles skyline, and even the Pacific Ocean.
Timing: Start your hike early in the morning to avoid the heat and crowds, and to avoid hiking in the dark if you start too late.
As mentioned above, there are several trail options for hiking Mount Baldy (also known as Mount San Antonio), each offering a different experience and level of difficulty. Some more in depth details to the popular trails include:
Baldy Bowl Trail: This is the most popular route and starts from the Manker Flats trailhead. It's a challenging trail that takes you through the Baldy Bowl, offering stunning views. You can pass by the Ski Hut as well on this hike. As mentioned above, the round-trip distance is approximately 10 miles.
Devil's Backbone Trail: This trail also starts from the Manker Flats trailhead, takes you up Baldy Notch Trail to the top of Baldy Notch and offers a more exposed and narrow ridge hike. It's about 7.5 miles round trip and provides panoramic views. Be mindful of the dangers of this trail with snow or ice.
Ski Hut Trail: Beginning from the Baldy Notch area, this trail passes the iconic Sierra Club Ski Hut before reaching the summit. It's approximately 6.4 miles round trip.
Bear Canyon Trail (aka: Old Mount Baldy Trail): This trail is much longer and less crowded, starting from the village of Mount Baldy. It's about 14 miles round trip and offers a more challenging and less-traveled option. We ended up descending this way unknowingly.
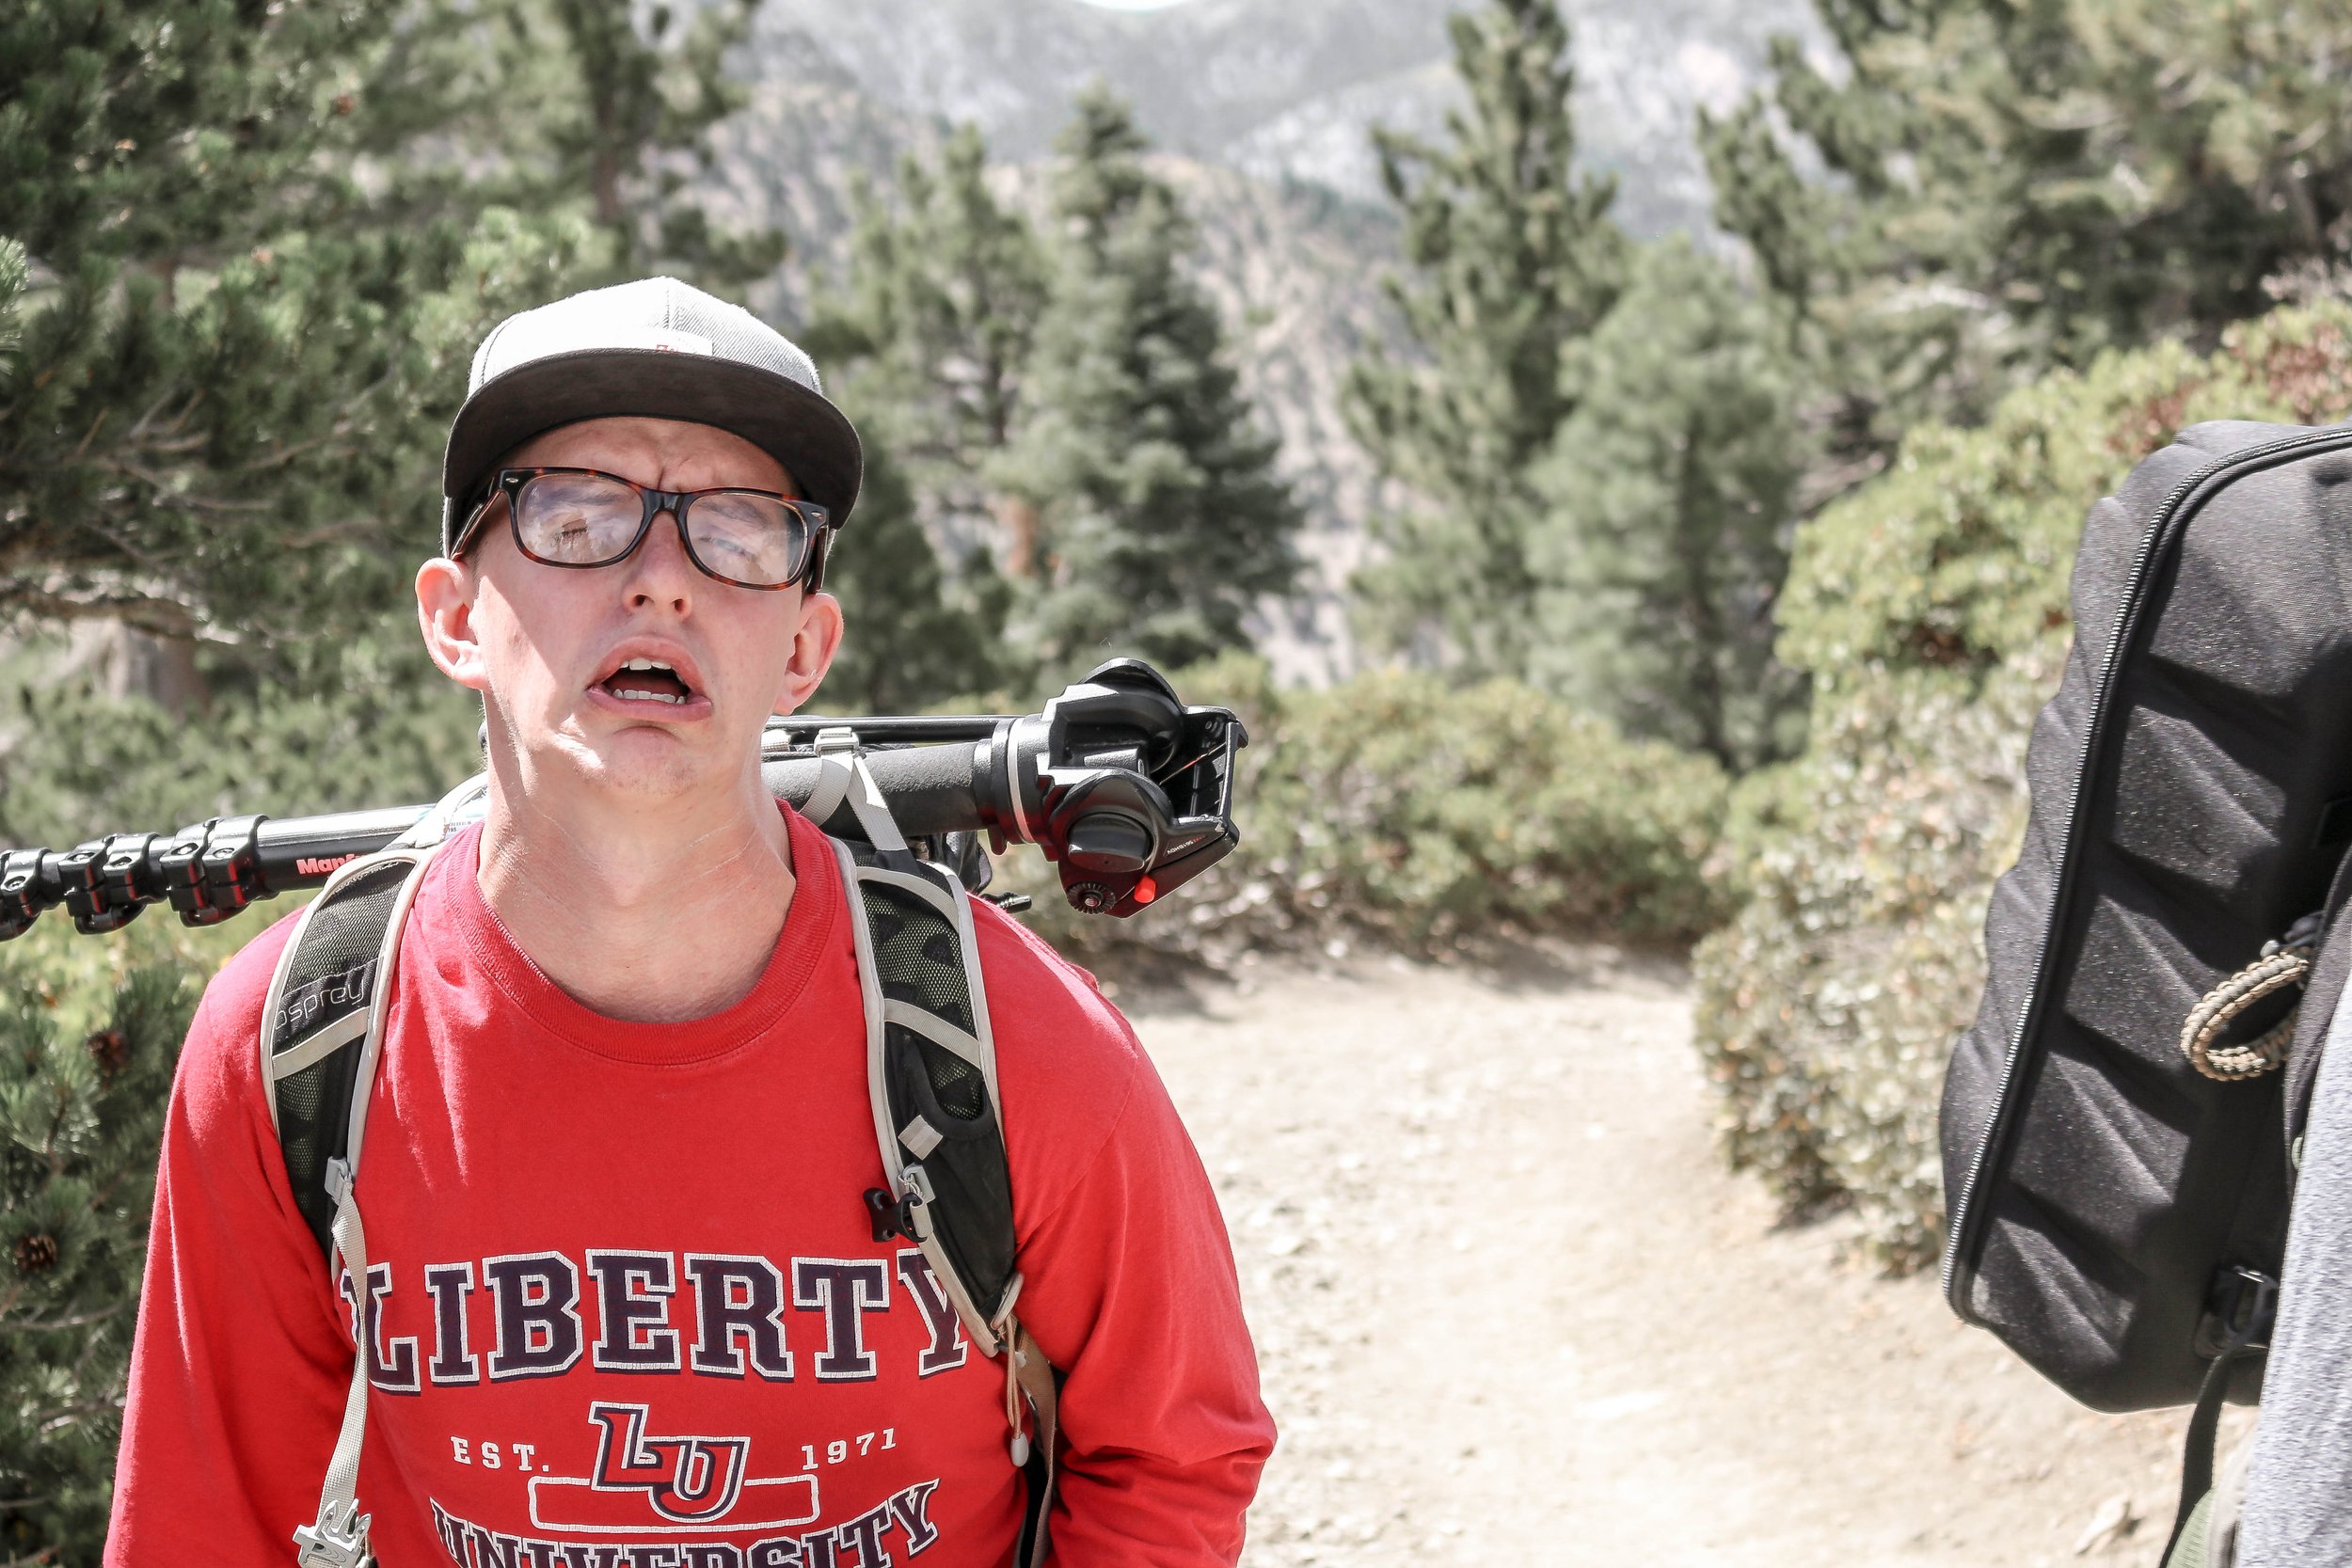

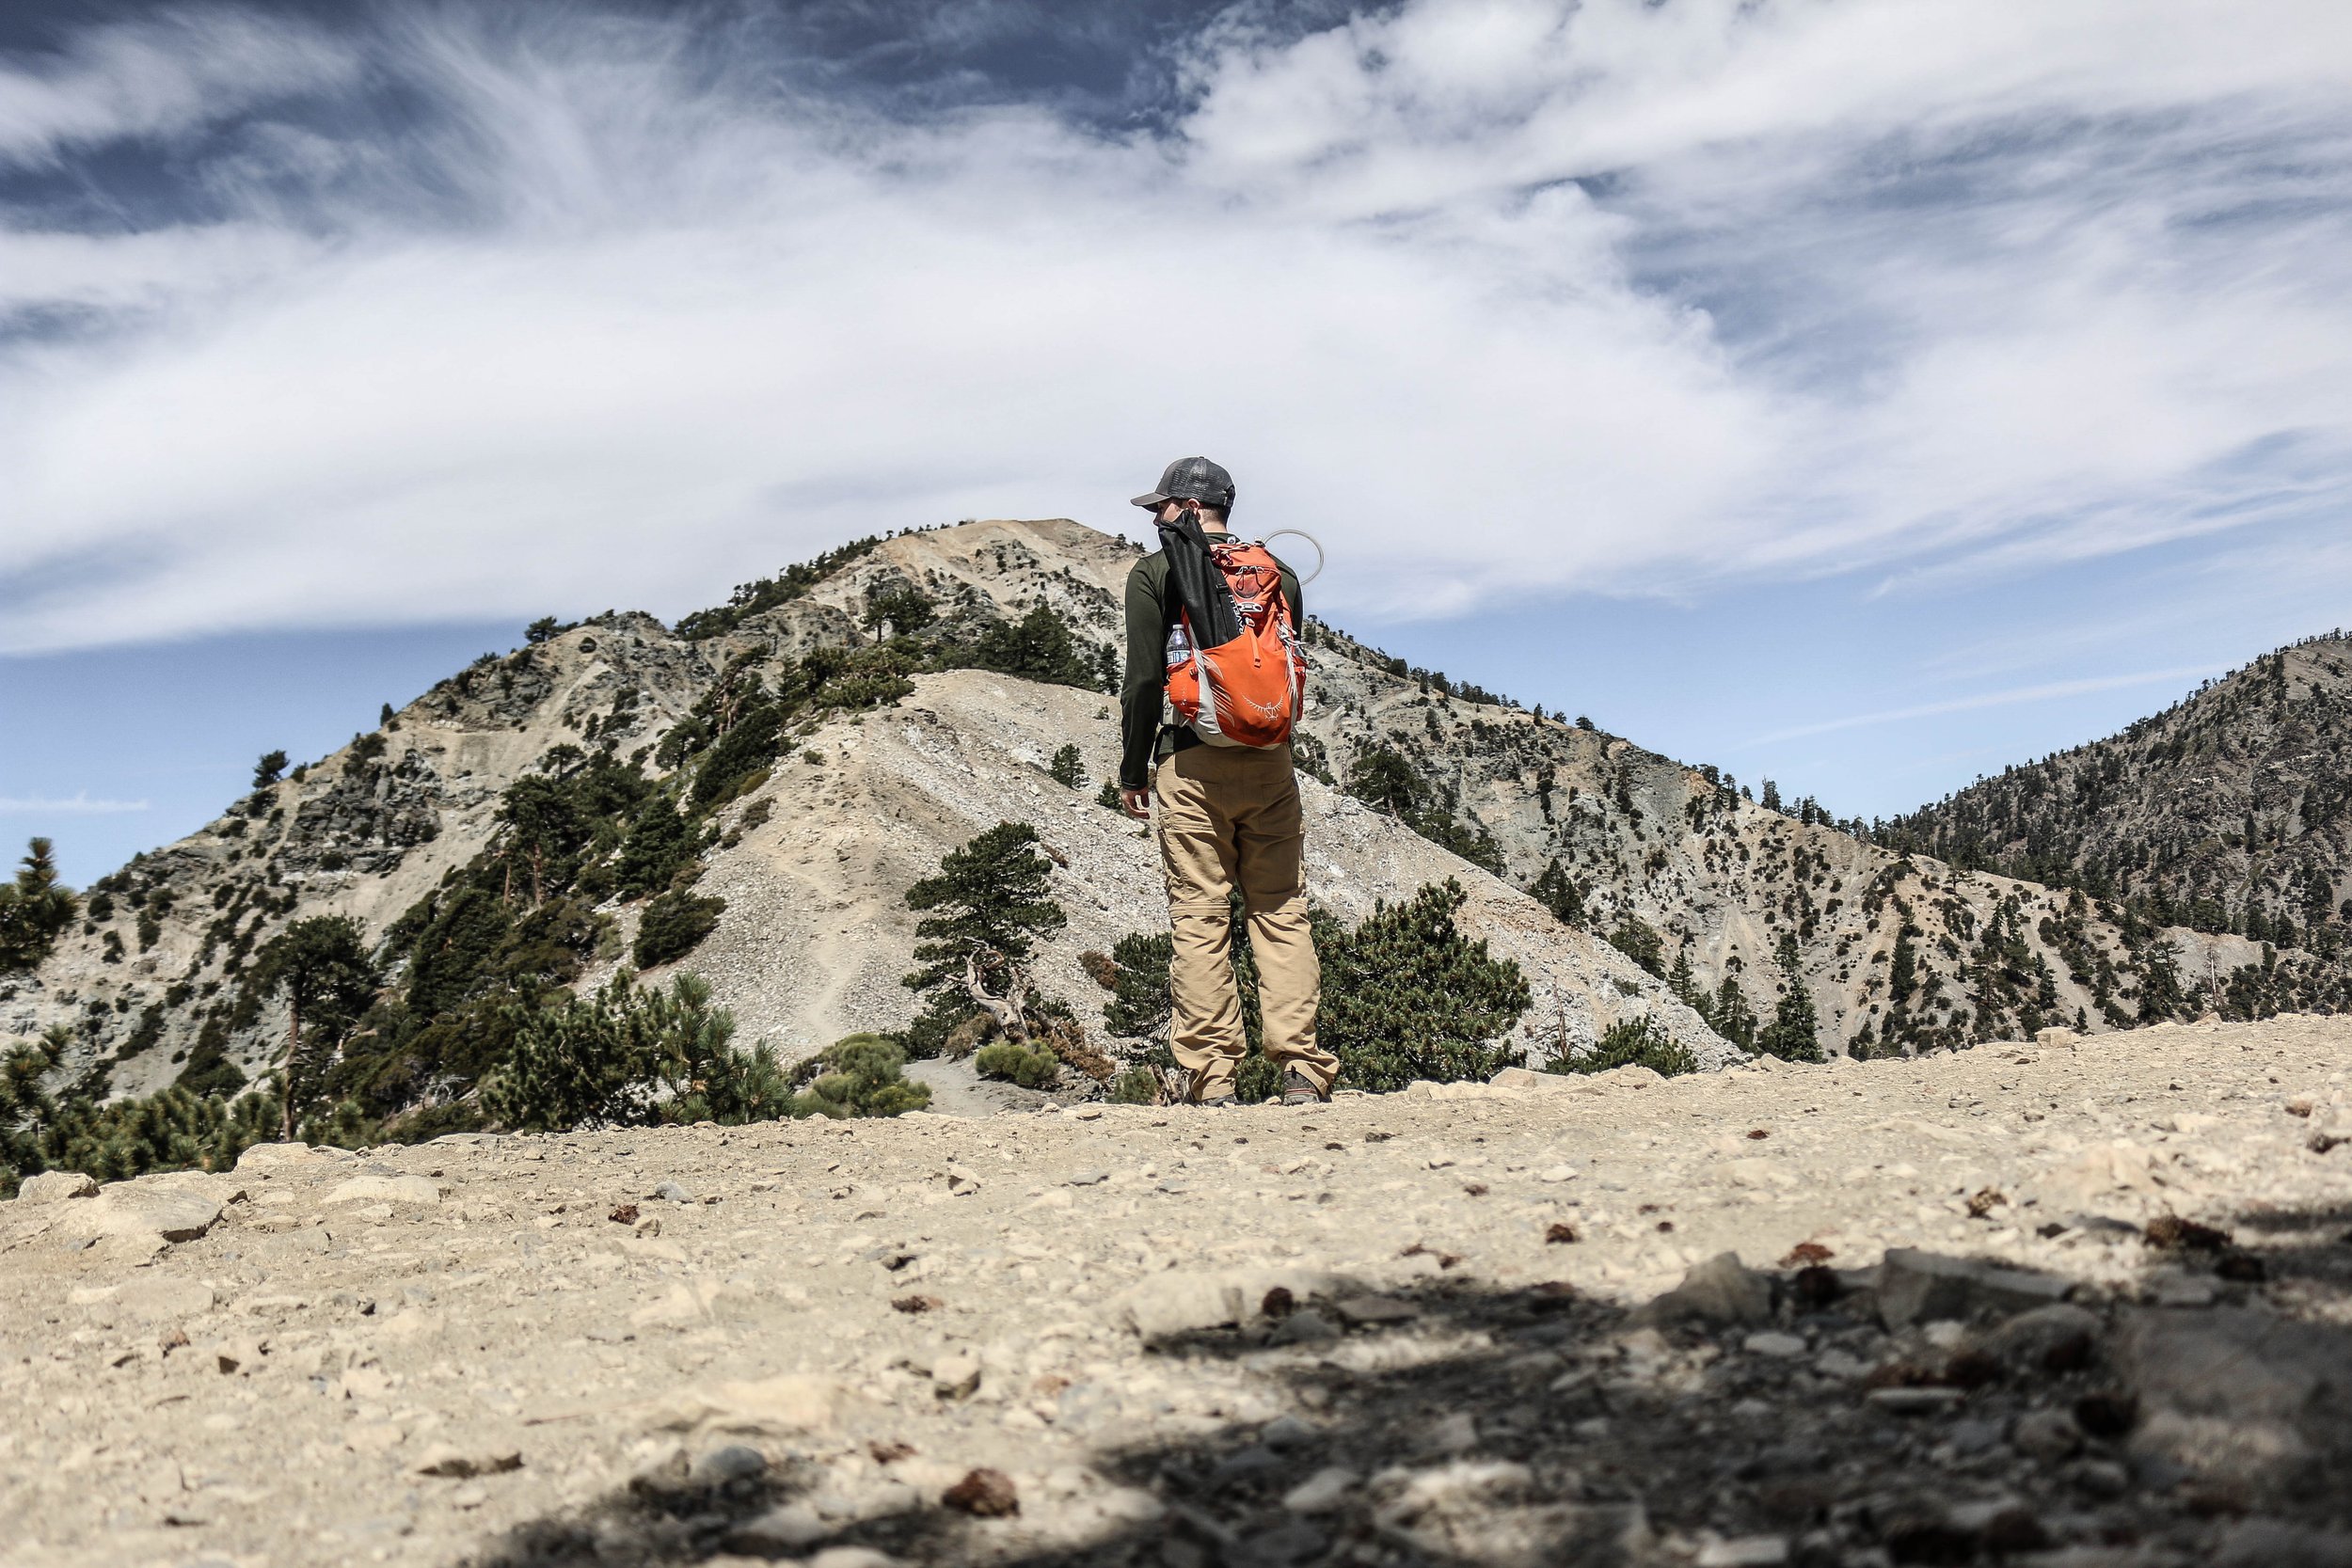
When we (Myself, Lucas, Richie, Nate, and Amy) did this hike, we started at the very common, Devil’s Backbone Trail which starts at Manker Flats Trailhead. We arrived early expecting to take a ride on the ski lift to save a little bit of time and effort for this hike (This saved us 3.4 mile of the hike). Little did we know, it was closed. We decided to make the first 3 miles of the trek up the mountain, because we had no other choice. Thankfully, we were met by a truck heading up to the top and they graciously allowed us to hitch a ride with them, which was a life saver. We got to the top where Mount Baldy Notch is and we put on our sunscreen to head onto Devil’s Backbone Trail. This part, as many may know, can be a little scary.
Devil’s Backbone Trail began to the left of Lucas
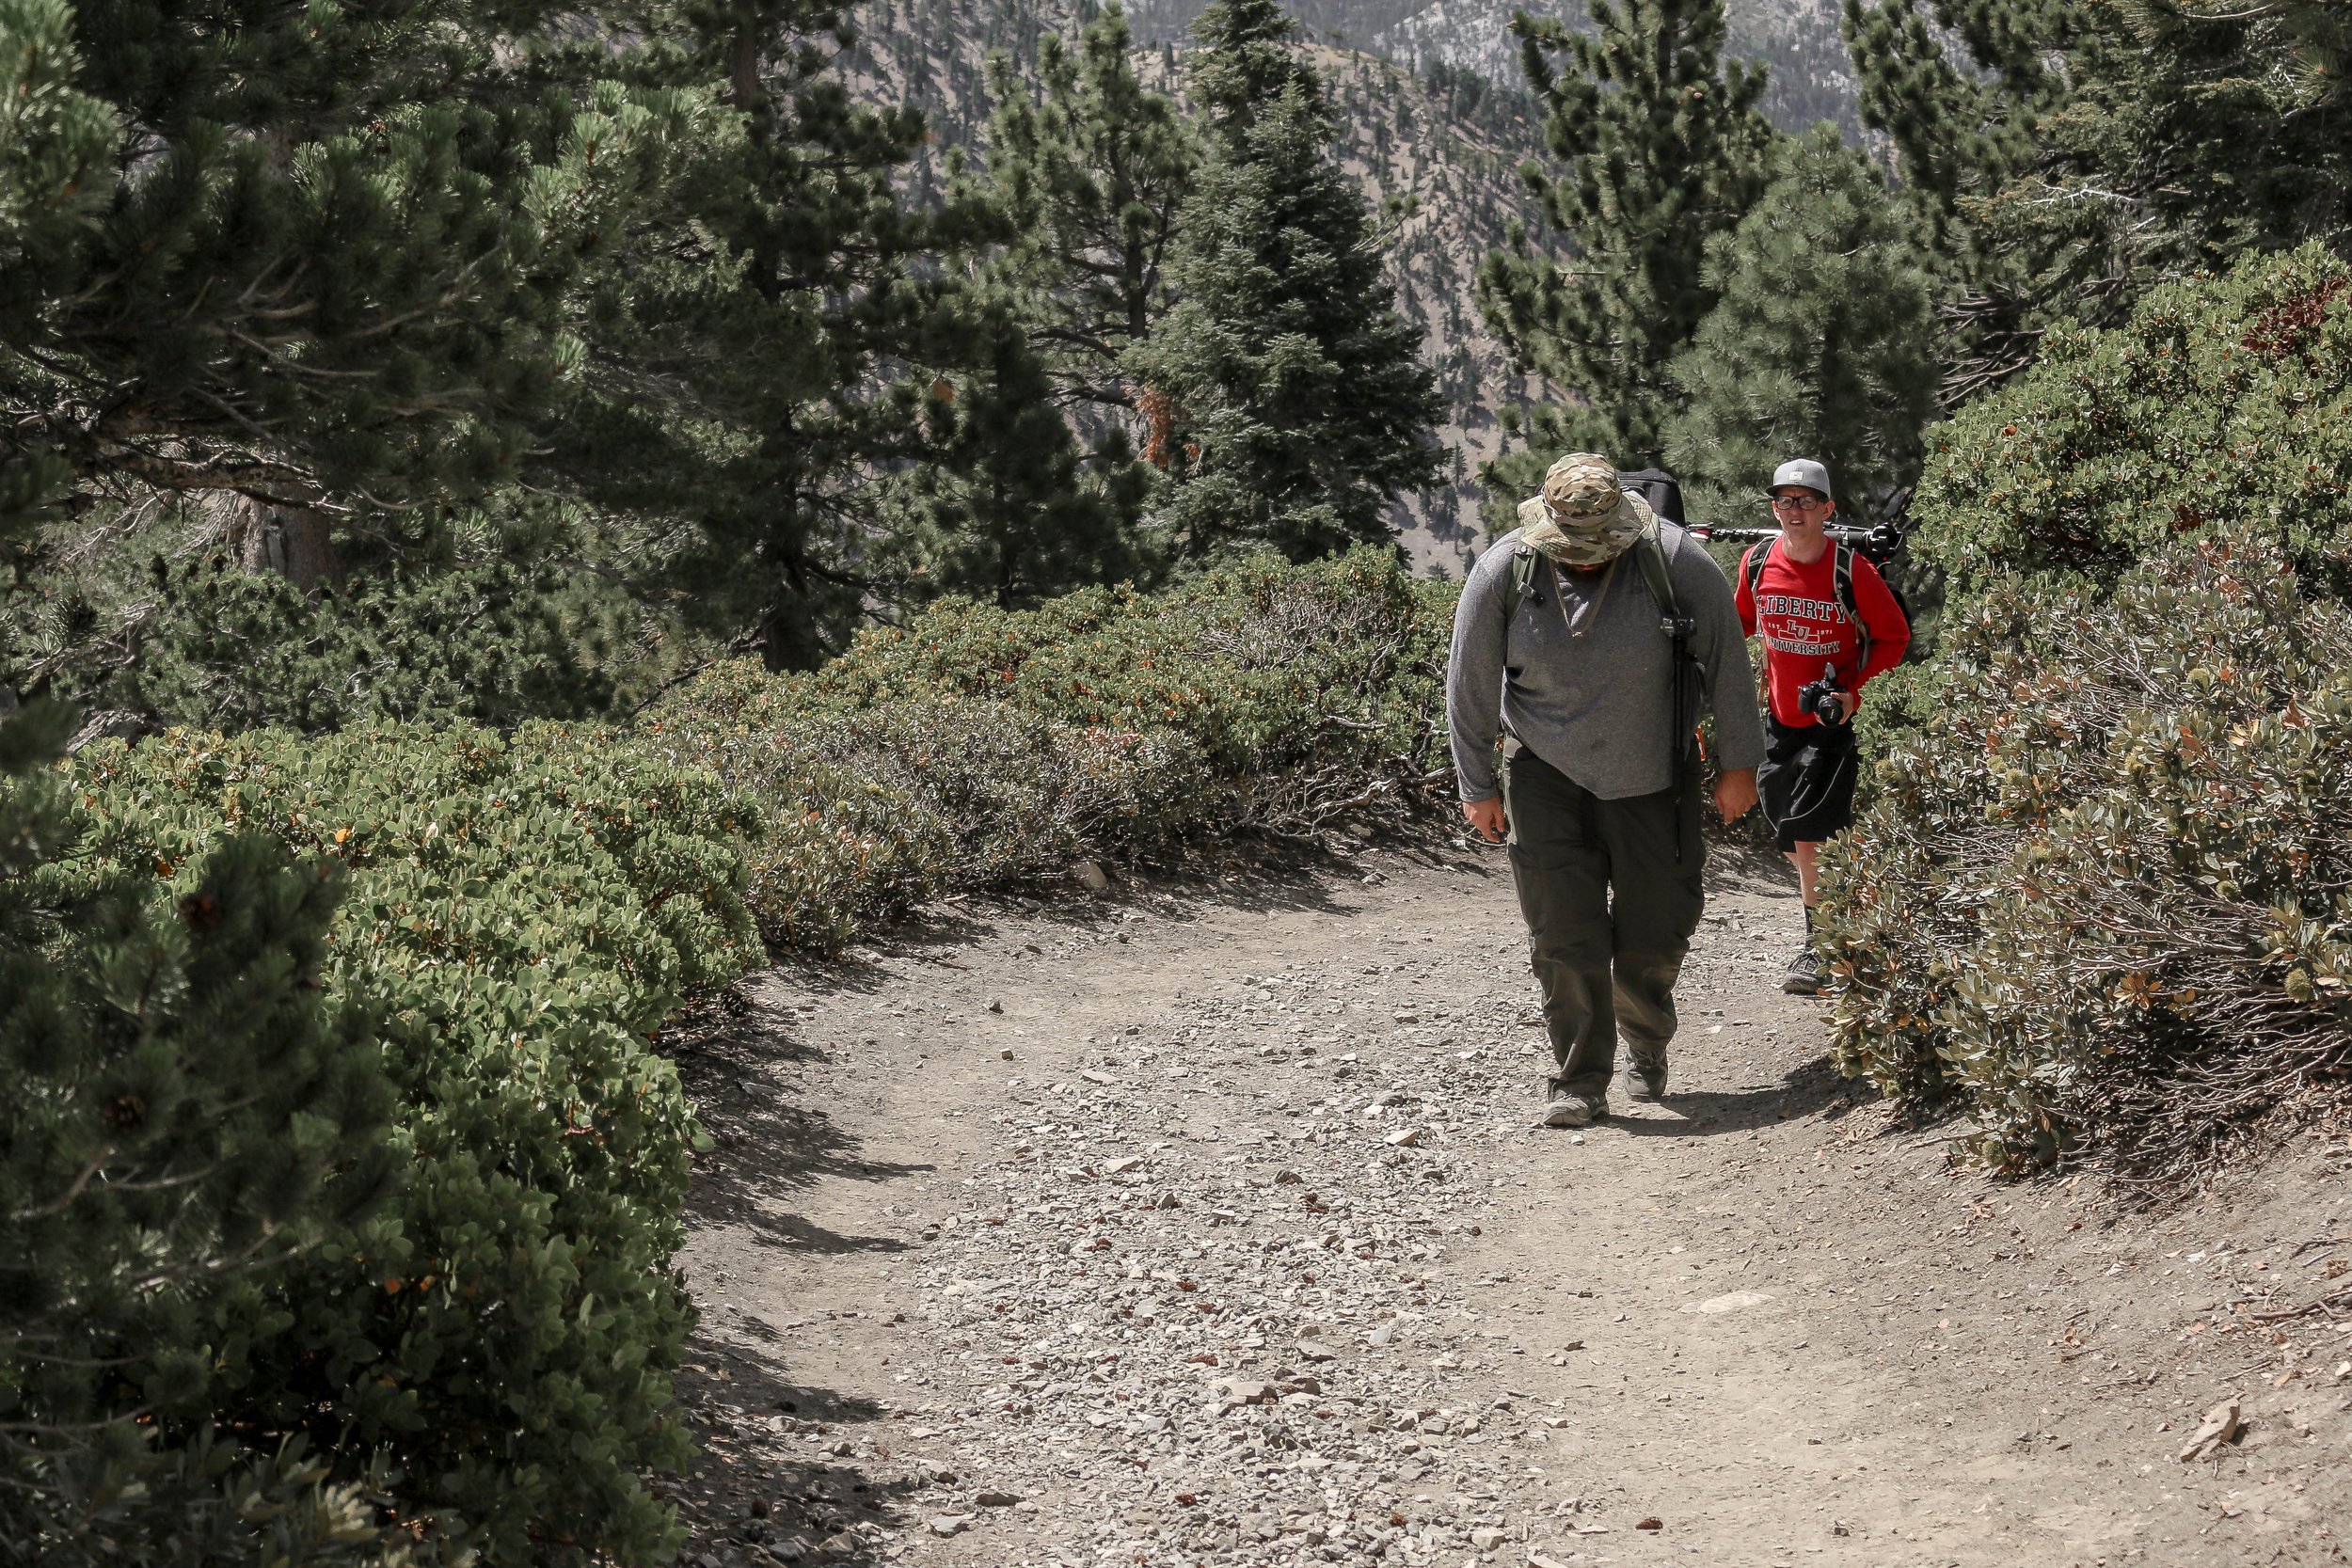
This part of the hike starts off with a steep grade. We went down a hiker (Richie) along the way. He decided to turn around and go back because he didn’t think he would make it the whole way. After finishing the hike, we affirmed that he probably would not have made it the whole way, especially because we took the wrong way down. At the time of hiking, it seemed like a breeze and not scary at all, but looking back, some parts were a tad on the sketchy side. And I have heard that people have fallen to their deaths on this hike (but more often when hiking in the snow). The total amount of miles we hiked was around 3-4 to get to the top from Baldy Notch (the ski area). Total elevation was around 4,500 ft.
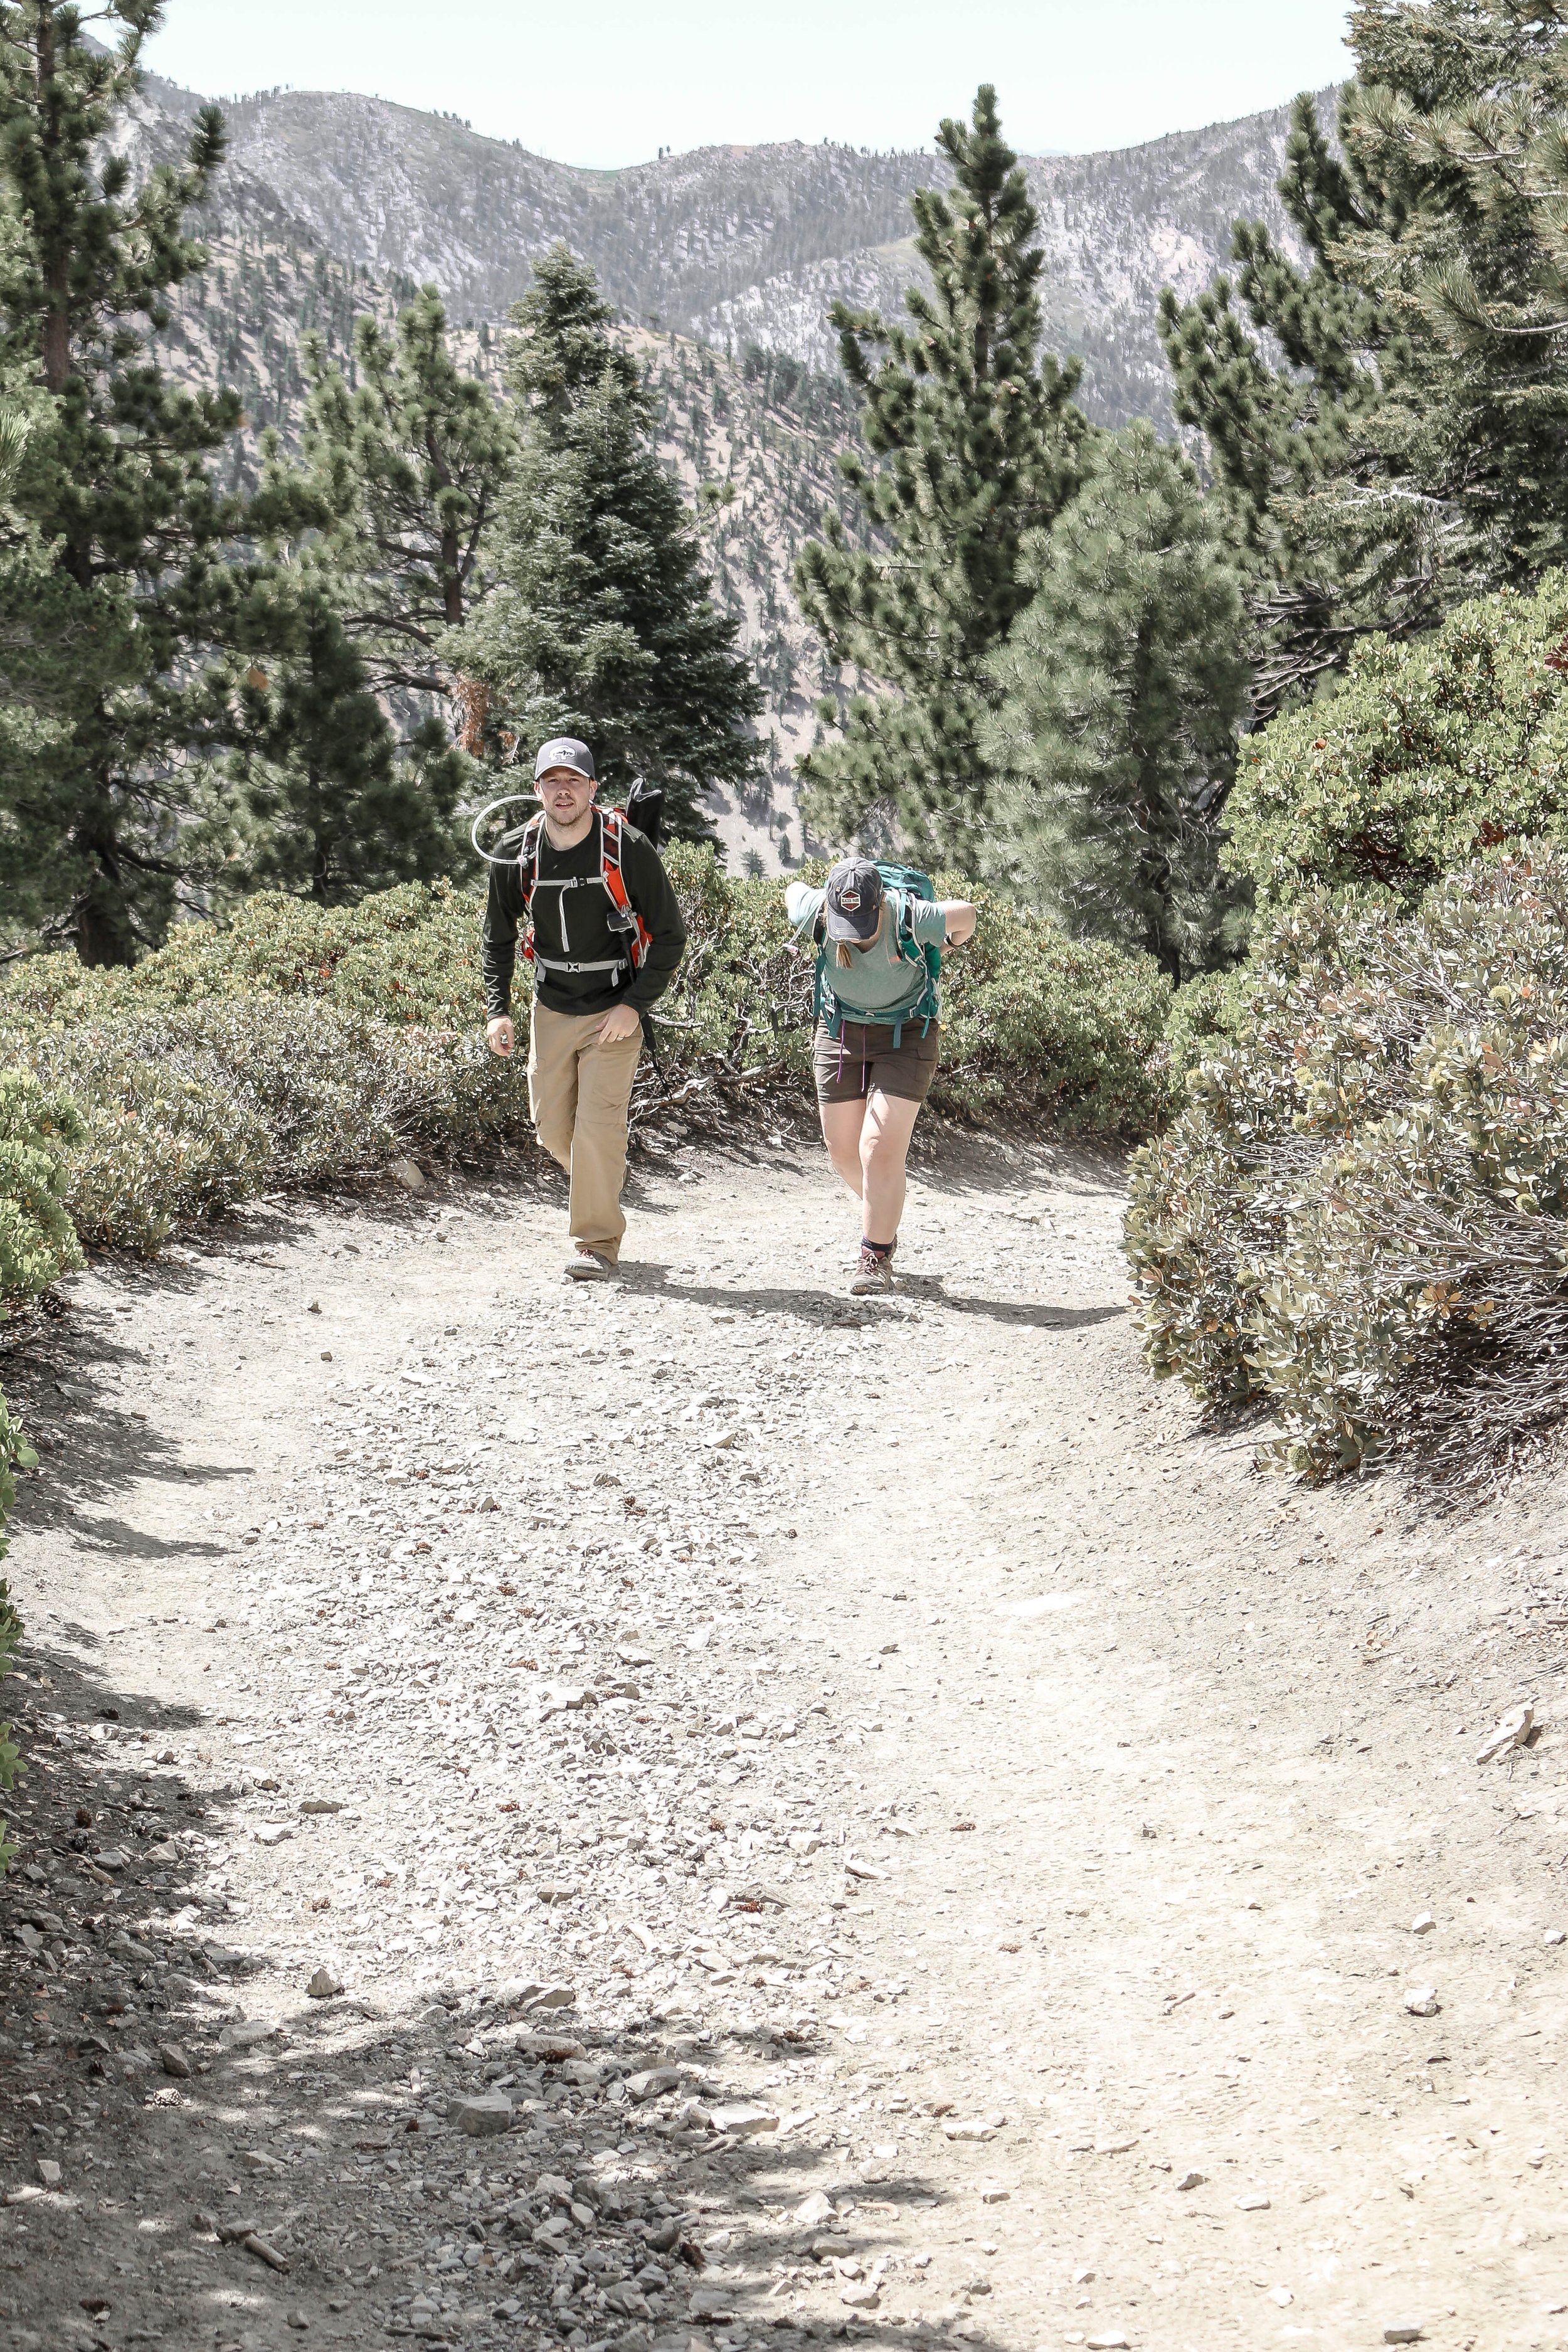
Once we arrived we took a long break, drank some water, had some snacks, reapplied sunscreen, took many pictures, and then made our way back down the mountain. Little did we know, we took the wrong route down. Instead of doing the shorter way down (Ski Hut Trail/Baldy Bowl Trail), we took Bear Canyon Trail to Mt Baldy Village, which ended up being an extra 6-7 miles. On the way down, Nathan pulled a muscle in his groin. Amy was so peeved that the hike was taking so much longer than expected, she trucked along on her own, and left the rest of us in the dust (would not recommend this). We took much longer going down because we were helping Nathan walk with his pulled muscle. Richie was down at the bottom of the trail and had been trying to call us and text us because he was worried as to why it was taking so long for us to get back down the mountain. The views were incredibly beautiful with pine trees, creeks, canyons, and little cabins along the way. Once we realized we were towards the end of the hike, I started booking it a little more because my feet hurt so bad, but Lucas will tell you, I didn’t complain once on this hike, which is unusual for me!

We all made it to the bottom in somewhat one piece. We were all extremely sore, and Richie was happy to know that we were all safe and sound, and nothing too terrible happened to us along the way. All in all, the hike was so beautiful and well worth it! Some tips to focus on for this hike:
Make sure you know which route you are taking beforehand. We didn’t know about All Trails at the time of doing this hike (we did it back in 2017) but would highly recommend to help keep on the trail and make sure you are taking the correct path since there are several options.
Bring plenty of food, water, sunscreen and make sure you are wearing good hiking shoes.
This hike is hard, so if you are not in proper shape, I would not recommend doing it.
If you want to avoid the first 3.4 miles on the trail, take the ski lift, but make sure it is open at the time you arrive.
Make sure to research the trail conditions, difficulty levels, and any permits or requirements before embarking on your hike. It's also a good idea to check with local authorities for the most up-to-date information.